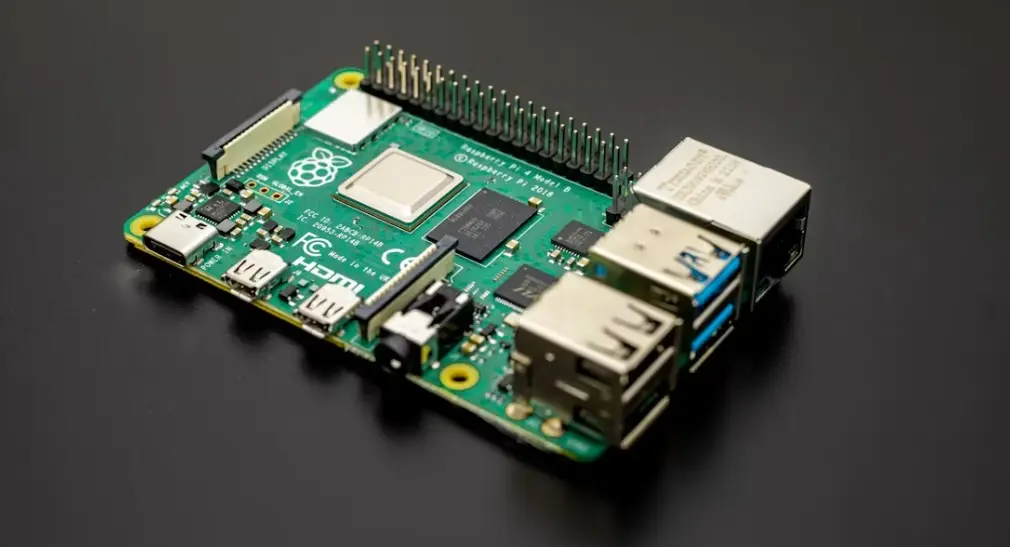
Self-hosting a private LLM on a Raspberry Pi 5 started as a curiosity for me. I had an 8GB Pi 5 sitting on my desk, mostly running Pi-hole and a few Docker containers. One afternoon I started wondering — could this small board actually run a real language model? Something I could chat with, ask questions, and use for code review, without a single byte leaving my network?
Turns out, yes. It can. Not at blazing speed, but fast enough to be genuinely useful.
After getting it running, I stopped worrying about which company sees my prompts, what they train on, or whether my API key will hit a rate limit. The whole thing draws about 5–8 watts and costs nothing after the initial hardware. If you care about privacy and you already own a Pi 5, this setup is absolutely worth trying.
This guide walks you through the full process — from a blank SD card to a working private AI you can access from any device on your home network.
What You’ll Need Before You Start
You don’t need much. Here’s what the setup requires:
- Raspberry Pi 5 with 8GB RAM — the 4GB version can work for the smallest models, but 8GB is strongly recommended
- MicroSD card (32GB minimum) or NVMe SSD — an NVMe SSD via the PCIe slot dramatically improves model load times
- Active cooling — running LLMs pins all four CPU cores at 100%; without active cooling you’ll hit thermal throttling fast
- Raspberry Pi OS Bookworm, 64-bit — the 64-bit build is required; 32-bit won’t work
- Internet connection — needed to download Ollama and models during setup; after that, everything runs offline
Why the 8GB model matters: Language models are loaded entirely into RAM. A 3B parameter model in Q4 quantization takes around 2GB. A 7B model needs 5–6GB. With 4GB total RAM shared between the OS and the model, you’re already cramped. The 8GB version gives you breathing room.
Step 1: Flash and Prepare Your Raspberry Pi OS
You’ll start with a clean Raspberry Pi OS installation. If you already have a working 64-bit Bookworm install, skip ahead.
- Download Raspberry Pi Imager from the official site and open it
- Choose Raspberry Pi OS (64-bit) — the Lite version is fine if you don’t need a desktop
- Click the settings gear icon before flashing — set your hostname, enable SSH, and configure your Wi-Fi credentials
- Flash to your SD card or SSD
- Boot the Pi and connect via SSH or directly with a keyboard and monitor
Once you’re in, update the system first. This step saves headaches later:
bash
sudo apt update && sudo apt upgrade -yLet it finish before moving on. It may take a few minutes.
Step 2: Install Ollama
Ollama is the engine that handles everything — downloading models, loading them into memory, and serving an API your other apps can talk to. Installing it on ARM64 Linux takes one command.
Run this in your terminal:
bash
curl -fsSL https://ollama.com/install.sh | shThe script detects your architecture automatically, downloads the correct ARM64 binary, installs it to /usr/local/bin, and sets up a systemd service so Ollama starts on boot. You don’t need to configure anything manually.
Verify it’s running:
bash
systemctl status ollamaYou should see it listed as active (running). If not, start it manually:
bash
sudo systemctl start ollama
sudo systemctl enable ollama
At this point, Ollama is installed and ready. No model is loaded yet — you’ll pull one in the next step.
Step 3: Pull Your First Model
This is where you choose what actually runs on your Pi. Model selection matters a lot on this hardware — too large and it becomes painfully slow; the right size and it’s genuinely useful.
Here are the models that work well on a Pi 5 with 8GB RAM, based on real benchmarks:
| Model | Size | Speed on Pi 5 (8GB) | Best For |
|---|---|---|---|
llama3.2:1b | ~1.3GB | ~8–12 tokens/sec | Fast replies, simple Q&A |
llama3.2:3b | ~2.0GB | ~4–6 tokens/sec | General use, good balance |
qwen2.5-coder:3b | ~2.0GB | ~4–5 tokens/sec | Code help and review |
phi3.5:mini | ~2.2GB | ~3–5 tokens/sec | Factual accuracy |
mistral:7b | ~4.1GB | ~1–2 tokens/sec | Richer output, but slow |
Start with the 3B model — it’s the sweet spot:
bash
ollama pull llama3.2:3bThe download is about 2GB, so give it a few minutes depending on your connection. Once it finishes, run a quick test:
bash
ollama run llama3.2:3b "Explain what you're running on in one sentence."You’ll see the response stream in, one token at a time. If it works, your private LLM is alive.
Step 4: Expose Ollama to Your Local Network
By default, Ollama only listens on localhost. That means only the Pi itself can send it requests. To access it from your laptop, phone, or other devices on your home network, you need to change the bind address.
Edit the Ollama systemd service:
bash
sudo systemctl edit ollamaThis opens an override file. Add these lines:
ini
[Service]
Environment="OLLAMA_HOST=0.0.0.0"
Save and close, then reload and restart:
bash
sudo systemctl daemon-reload
sudo systemctl restart ollama
Now the API is reachable at http://YOUR-PI-IP:11434 from any device on the same network. You can find your Pi’s local IP with:
bash
hostname -ITest it from another machine by opening a browser and visiting http://YOUR-PI-IP:11434. You should see a plain text response that says “Ollama is running.”
Step 5: Install Open WebUI for a Browser-Based Chat Interface
The terminal works, but a proper chat interface is much more comfortable for daily use. Open WebUI gives you a ChatGPT-style UI that connects directly to your local Ollama instance. Everything still runs on your Pi — Open WebUI is just the front-end.
The easiest way to install it is via Docker. First, install Docker if you haven’t already:
bash
curl -fsSL https://get.docker.com | sh
sudo usermod -aG docker $USER
Log out and back in so the group permission takes effect, then run:
bash
docker run -d \
  --name open-webui \
  --network=host \
  -v open-webui:/app/backend/data \
  -e OLLAMA_BASE_URL=http://127.0.0.1:11434 \
  --restart always \
  ghcr.io/open-webui/open-webui:main
Open WebUI uses the official multi-architecture image that runs on ARM64 without modification. The first pull might take a few minutes.
Once it’s running, open a browser on any device connected to your home network and go to:
http://YOUR-PI-IP:3000You’ll be prompted to create a local account. This account is stored entirely on your Pi — nothing is sent anywhere. After logging in, select your model from the dropdown and start chatting.
Step 6: Keep It Healthy with Cooling and Monitoring
Running a language model on a Pi is demanding work. All four CPU cores hit 100% during inference, and the board generates real heat. Without proper cooling, the Pi throttles its clock speed to protect itself — and you’ll see your tokens-per-second drop noticeably.
Cooling recommendations:
- Use the official Raspberry Pi Active Cooler — it’s inexpensive and designed specifically for the Pi 5
- A case with both active and passive cooling works best
- Consider mounting the Pi vertically if airflow around it is restricted
Monitor temperature in real time:
bash
watch -n 1 vcgencmd measure_tempYou want to stay below 80°C during heavy use. Anything above that and thermal throttling kicks in. A good active cooler should keep you around 55–70°C even under full load.
Monitor RAM usage:
bash
free -hIf you’re seeing heavy swap usage, your model is too large for your RAM. Drop down to a smaller parameter count.
Step 7: Optional — Set Up Automatic Startup and Enable Swap
Two small improvements make the setup much more reliable for everyday use.
Enable swap (important for 4GB models or larger):
bash
sudo dphys-swapfile swapoff
sudo nano /etc/dphys-swapfile
Change CONF_SWAPSIZE=100 to CONF_SWAPSIZE=2048, then:
bash
sudo dphys-swapfile setup
sudo dphys-swapfile swapon
This gives you a 2GB swap buffer. It’s not as fast as RAM, but it prevents out-of-memory crashes when loading slightly larger models.
Verify services start on boot:
Both Ollama and Open WebUI should already be set to restart automatically. Confirm with:
bash
sudo systemctl is-enabled ollama
docker inspect open-webui --format '{{.HostConfig.RestartPolicy.Name}}'
You want to see enabled and always respectively. Reboot the Pi once to confirm everything comes back up cleanly without manual intervention.
How Fast Is It, Really?
Let’s set honest expectations. This is CPU-only inference on a 2.4GHz ARM chip — not a GPU. Here’s what to expect:
- 1B models: 8–12 tokens/second — fast enough to feel near-instant
- 3B models: 4–6 tokens/second — readable as it streams, comfortable for most tasks
- 7B models: 1–2 tokens/second — usable for non-time-sensitive work, but slow for conversation
For reference, average human reading speed is around 4–5 words per second. A 3B model at 5 tokens/second is roughly keeping up with that. It’s not like waiting for a slow page to load — you read as it generates.
For coding help, offline Q&A, home automation scripts, document summarization, or just experimenting with AI privately, the speed is more than sufficient.
FAQ
Can I run a 7B model on a Raspberry Pi 5 with 8GB RAM?
Yes, but it’s slow. A 7B model in Q4 quantization sits around 4–5GB, which fits in 8GB RAM with the OS overhead. Expect about 1–2 tokens per second — readable, but not comfortable for back-and-forth conversation. For regular use, a 3B model is a better choice. Save the 7B for when response speed doesn’t matter.
Do I need the 8GB version of the Pi 5, or will 4GB work?
For 1B and small 3B models, 4GB is workable. For anything larger, you’ll either hit out-of-memory errors or depend heavily on swap, which slows things down significantly. If you plan to run this as a daily assistant, the 8GB version is worth the extra cost.
Is this actually private? Can anyone else see my prompts?
Yes, it’s fully private — by default. Ollama runs entirely on your local hardware. No prompts, no responses, and no model data leave your network. Open WebUI stores your chat history locally on the Pi. The only time anything goes online is when you first download Ollama and pull a model.
What models work best for coding tasks on Pi 5?
qwen2.5-coder:3b is widely recommended for code-related tasks on Pi hardware. It was trained specifically on code and performs well within the 3B parameter range. phi3.5:mini also handles structured output and technical reasoning well.
Can I access my Pi LLM from outside my home network?
Not by default — and that’s actually a good thing for security. If you want remote access, the cleanest approach is to set up a VPN like Tailscale on the Pi and your other devices. This creates an encrypted tunnel and lets you reach the Pi’s Ollama API from anywhere without exposing port 11434 to the public internet.
Will the Pi 5 overheat running LLMs all day?
It will run hot without cooling. With active cooling — particularly the official Raspberry Pi Active Cooler — the board stays at a safe temperature even under sustained inference load. Without it, you’ll see thermal throttling and significantly slower token speeds. Active cooling is not optional for sustained use; treat it as a required accessory.
Can I use this with my own custom documents or a knowledge base?
Yes. Open WebUI supports uploading documents and using them as context for your conversations. For more advanced setups, you can build a RAG (Retrieval-Augmented Generation) pipeline using tools like LangChain or LlamaIndex connected to Ollama’s API. This lets the model reference your own files when answering questions — all still running locally on the Pi.
Editors Note
Dear friends, I spent a long time trying to figure out this technical detail, but I finally succeeded! By following the steps I’ve described, you will definitely be able to achieve the desired result. Please proceed by solving each step one by one. I believe you will eventually succeed in the installation. Thank you and good luck!